Creating a field report with ArchiSnapper is easy. Follow the 12 steps below and you'll have your first report ready in 5 minutes.
If you prefer to watch a video instead:
If you are interested in a more detailed instruction video, you can click here to watch a recording of one of our ArchiSnapper product webinars.
Follow these 12 easy steps to get started with ArchiSnapper:
1 - Projects
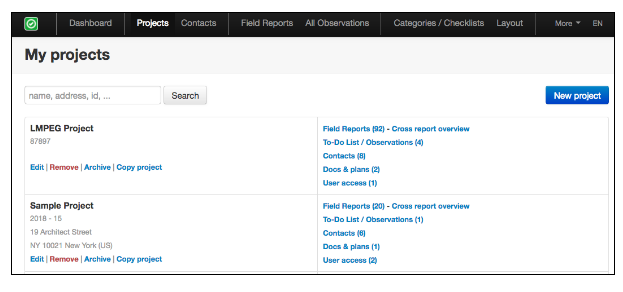
Go to http://app3.archisnapper.com/ on your computer and click on “Projects.” If you have a project with at least one contact linked to it, you're good to go.
2 - Install the ArchiSnapper app on your mobile device (phone or tablet)
On your mobile device, download “ArchiSnapper” from Google Play or the App Store.
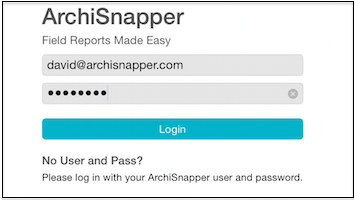
3 - Log on to the app using your email and password
4 - Tap “SYNC” to download your projects, contacts and other data to your mobile device

5 - Tap 'New Report' for any of your projects.

6 - Start from categories
Since this is probably the first field report for this project, select “Start from categories.” When you already have field reports for a project, you’ll also have the option to clone your last report. Tip: this clone functionality is very useful as it allows you to create a new field report starting from the previous one, almost all our users use this.
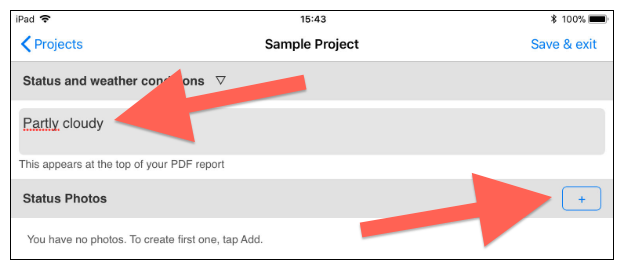
7 - Enter the project status and status photos.
This will appear in your field report and can be used to record anything from project progress to weather conditions.
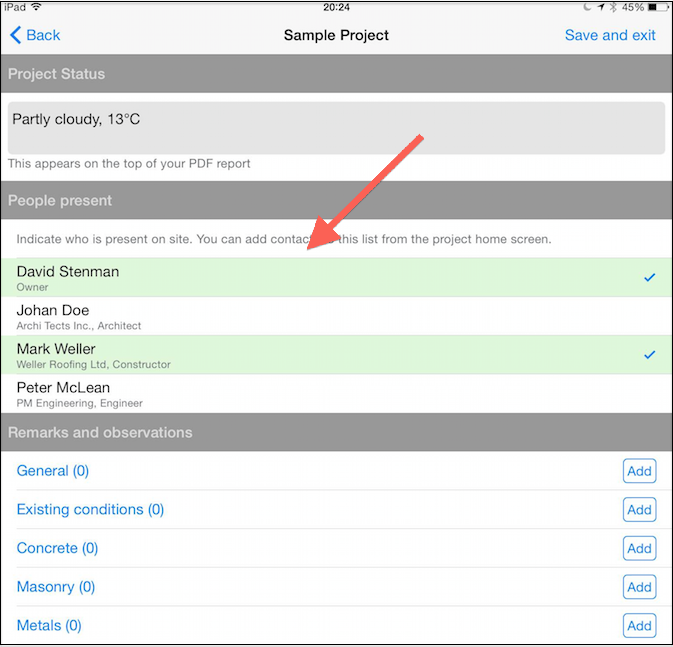
8 - Indicate which contacts are present on the job site
9 - Add an observation
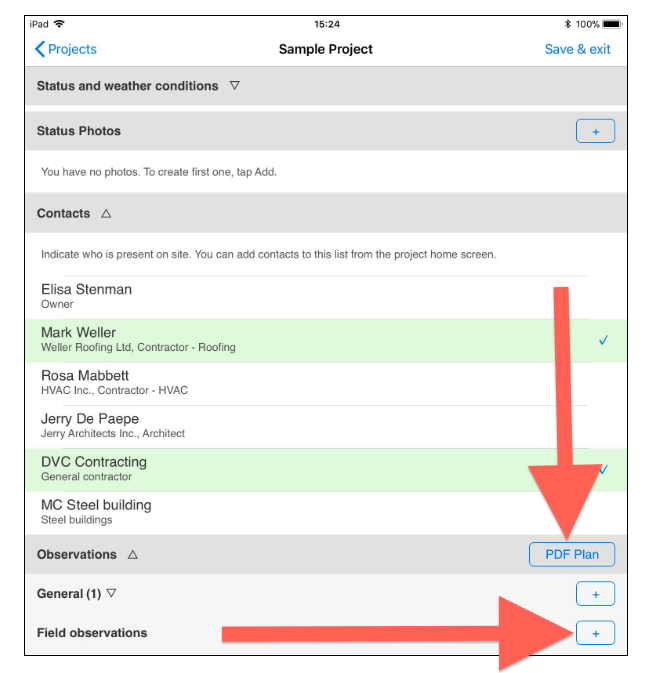
Click “+” to add an observation to any of the categories.
Note: instead of working from the category list, you can also add observations directly from your PDF documents (floor plans, drawings). Tap 'PDF plan' at the top of the category list and then select a PDF document and tap on the plan to add an observation on that location.
Note: you can manage the observation categories online, or use the checklist functionality.
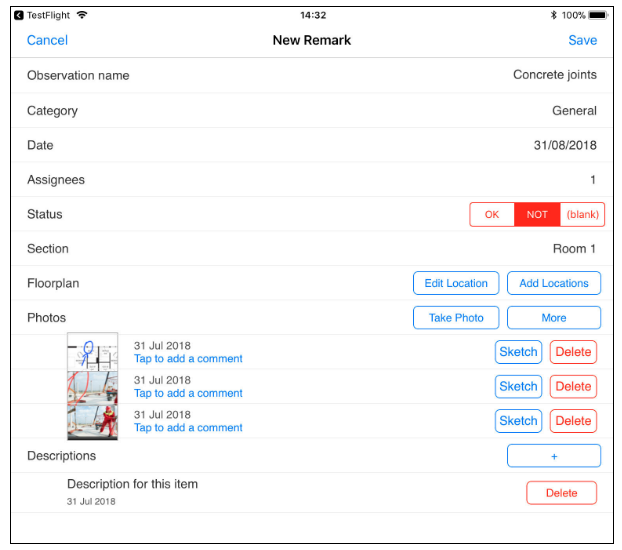
For every observation you can:
- Change the status (OK, NOT OK, or undefined).
- Add photos and sketches: you can take photos from your camera or insert photos from your roll, or annotate/sketch on a PDF document.
- Add descriptions with more details. Tip: try the 'voice to text' functionality.
- Assign the item to any of the contacts available for this project.
- Locate the item on a PDF floor plan
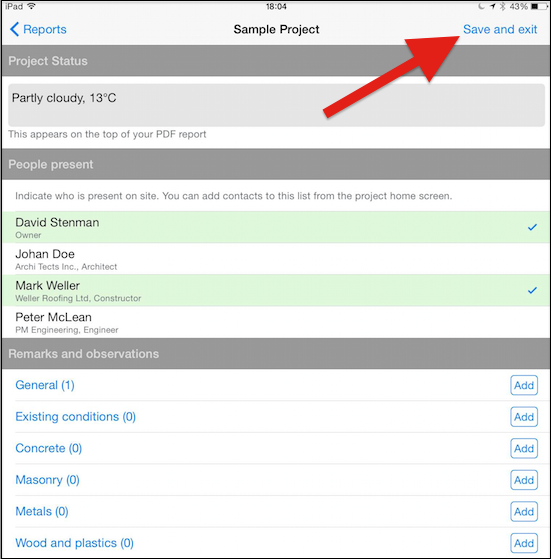
10 - When you’re done documenting observations, tap “Save and exit”
11 - Click “SYNC” to upload your report to your online account

12 - Edit and send the report from your online account
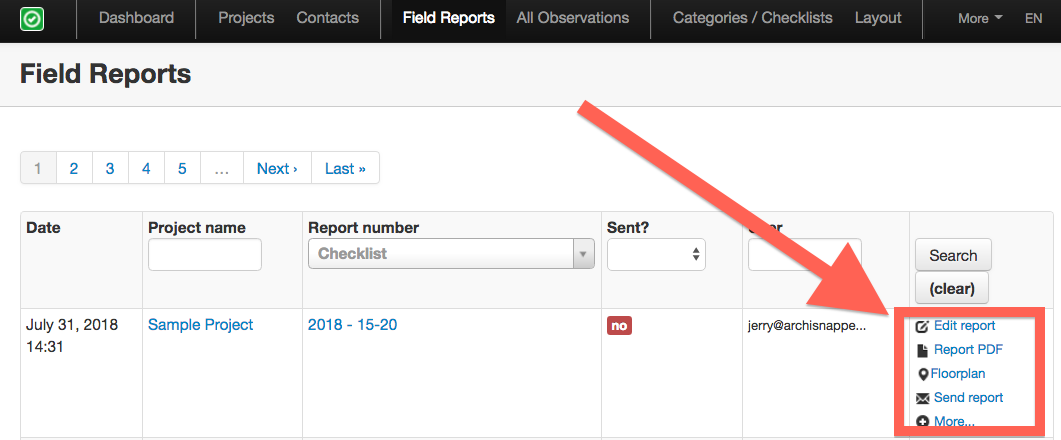
All set! The report you just created is now available in your online account. On your computer, log on to the online ArchiSnapper account and click 'reports'. From here, you can edit your report, download it as a PDF or send it out directly to your contacts.
Want to tweak your report layout? Add your logo, change fonts, etc? Click here
Want to sign off the field report on site? See here how that works.
Go to you all observations table (online) if you want to filter, group and share lists of observations.
Want assignees to give feedback on the items assigned to them? You can invite them to collaborate. See here how this works.
Looking for more features? Brows through the help docs in the left column of this page.
Questions? [email protected]. Don't hesitate to reach out, we love to help our users.
